How to Set Up Contrast Therapy at Home: Sauna + Cold Plunge Planning Guide
Updated · 8 min read · By Steve Gilman, Editor
We may earn a commission from links on this page, at no extra cost to you. Affiliate disclosure.
Key takeaways
- Contrast therapy alternates heat (sauna) and cold (plunge or cold shower). At home, the biggest planning issues are space, electrical capacity and how far you have to walk between the two.
- You don't need to buy both at once. Many people start with a sauna and use a cold shower or a low-cost tub before investing in a chiller.
- Heat-to-cold transitions stress the cardiovascular system. Start gently and talk to your doctor first if you have any heart or blood pressure condition.
What contrast therapy is
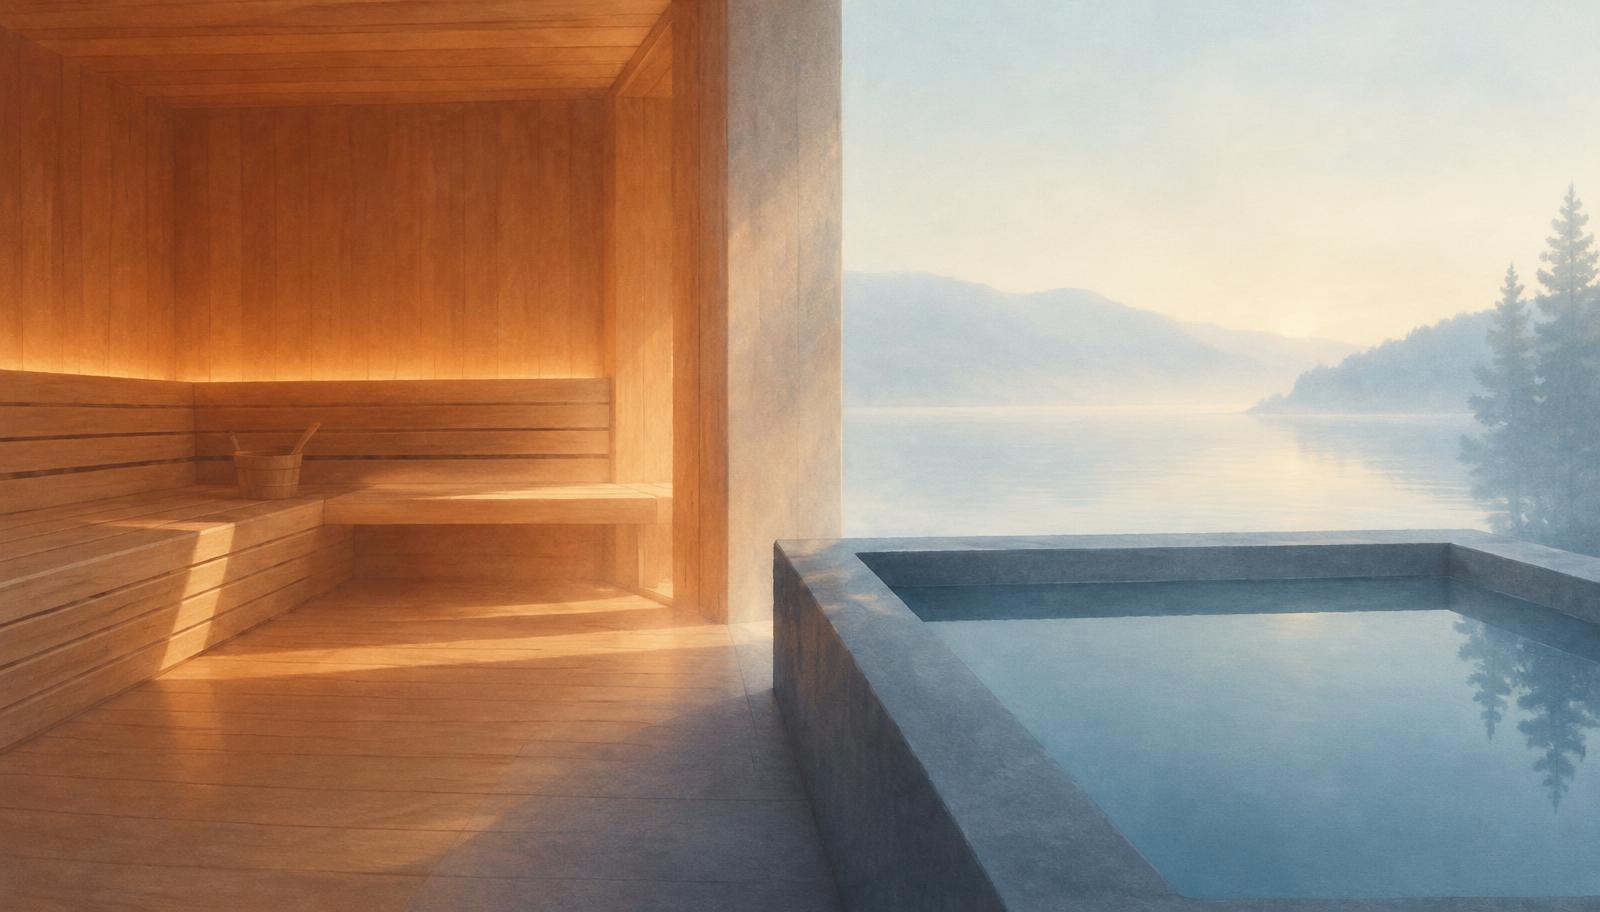
Contrast therapy simply means alternating between heat and cold, such as a sauna session followed by a cold plunge or cold shower, often repeated a few times. It's a long tradition in Nordic countries, where people move between the sauna and a cold lake or snow.
The research is still developing. A small 2021 study in Cell Reports Medicine looked at experienced Scandinavian winter swimmers who combined cold dips and sauna two to three times a week and found differences in how their bodies regulated temperature compared with non-swimmers. It's an interesting signal, not proof that contrast therapy causes specific health outcomes.
Step 1: Decide what you'll start with
| Setup | Upfront cost | Effort | Good for |
|---|---|---|---|
| Sauna + cold shower | Sauna only | Lowest | Trying contrast therapy without buying a plunge |
| Sauna + ice tub/barrel | Low for the cold side | Add ice before sessions | Occasional plungers |
| Sauna + chiller plunge | Highest | Lowest day-to-day | People who'll do it several times a week |
Our take: start with whichever side you're most excited about, use a cold shower or an inexpensive tub for the other side, and upgrade once the habit sticks.
Step 2: Plan the layout
- Keep them close. The walk between heat and cold should be short and safe, especially in winter. Wet feet plus ice equals falls.
- Plan non-slip flooring and a place to sit between rounds.
- Outdoors: put both on level, well-drained bases; consider a simple roof or windbreak; and plan lighting for evening use.
- Indoors: a basement or garage often works well. Check that the floor can handle a filled plunge (often several hundred pounds or more) and that you can manage drips and drainage.
Use our Will a Sauna Fit? tool to sanity-check the sauna footprint.
Step 3: Check your electrical capacity
Running both a sauna and a chiller adds up:
- Traditional sauna heaters usually need a dedicated 240V circuit; small infrared saunas often run on a dedicated 120V circuit.
- Many plunge chillers need their own dedicated, GFCI-protected outlet, especially outdoors.
Have a licensed electrician confirm your panel can handle both and quote all the circuits at once. It's usually cheaper than two separate jobs. See Sauna Electrical Requirements.
Step 4: Budget for the whole setup
Add up:
- Sauna (see How Much Does a Home Sauna Cost?)
- Cold plunge or tub (see the Cold Plunge Buying Guide)
- Electrical work for both
- Foundation or flooring, if needed
- Running costs: electricity, ice, filters and sanitizer
A gentle beginner routine (general information, not medical advice)
- Heat: a comfortable sauna session, shorter than you think at first.
- Cool down: step out, breathe, and let your heart rate settle for a minute.
- Cold: a brief cold shower or plunge. Enter slowly, keep your head above water, and focus on long exhales.
- Rest: sit, warm up naturally and hydrate.
- Repeat only if you feel good. One or two rounds is plenty when you're starting.
Stop immediately if you feel dizzy, faint, numb, confused or can't control your breathing.
Safety essentials
- See your doctor first if you're pregnant or have heart disease, high or low blood pressure, Raynaud's, or take medications that affect heart rate or blood pressure.
- No alcohol before or during sessions.
- Don't do it alone while you're learning how your body responds.
- Hydrate before and after.
- Childproof the plunge with a locking lid.
Sources
Frequently asked questions
Do I have to end on cold?
You'll see this recommended online, but the evidence is limited. Choose whatever order feels safe and comfortable, and make sure you warm up gradually and fully afterward.
Can I use a cold shower instead of a cold plunge?
Yes. A cold shower is a practical, low-cost way to do contrast therapy at home, and an easy way to find out whether you'll stick with the habit before buying a plunge.
How far apart should my sauna and plunge be?
As close as is practical and safe. A short, non-slip path matters most, especially outdoors in winter.
Is contrast therapy safe?
Many healthy adults do it with sensible precautions, but rapid temperature changes stress the cardiovascular system. Talk to your doctor first if you have any heart or blood pressure condition or are pregnant.
Related articles
Saunas · guide
Home Sauna Buying Guide (2026): How to Choose the Right Sauna for Your Home
Infrared or traditional? Indoor or outdoor? 120V or 240V? A plain-English guide to choosing a home sauna, what it really costs, and the mistakes to avoid.
11 min read
Cold Plunges · guide
Cold Plunge Buying Guide (2026): Chiller vs. Ice, Temperature, Size and Safety
Thinking about a home cold plunge? How to choose between a chiller and an ice tub, what temperature you actually need, what it costs, and how to stay safe.
10 min read
Saunas · guide
Sauna Electrical Requirements: 120V vs. 240V, Dedicated Circuits and What to Ask Your Electrician
Can a sauna plug into a regular outlet? Sauna voltage, amps, dedicated circuits, GFCI and permits explained, plus what to ask your electrician.
8 min read